| Step 1 |
|
We'll assume the created dinosaur skin meets all the requirements of
normal meshes that can be imported in a level. If you are not sure
whether it is, I suggest import the dinosaur into a level first and
correct all the problems first along the way.
|
| Step 2 |
|
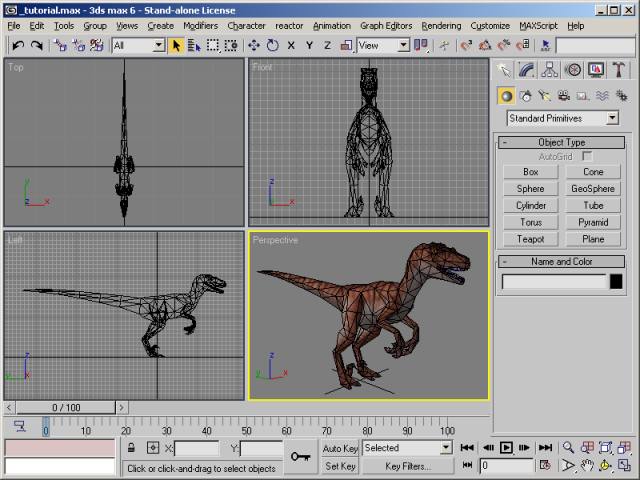
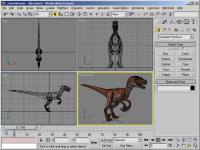
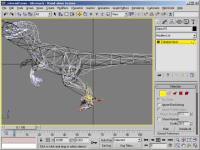
First we'll import the original .3ds raptor skin into our scene. The
old skin will be used as reference for position, scale and rotation.
Click "File" > "Import...", browse to the exported .3ds file and click on "Open".
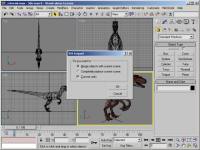
Before the skin will be imported MAX will ask you whether you want to
merge the scene or replace it. Select the option "Merge objects with
current scene" and click on "OK". |
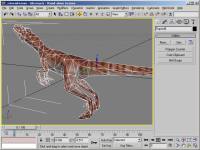
| Step 3 |
|
MAX will automaticly zoom in on the imported skin. As you can see the old skin is much smaller, but actually our new skin is to big.
Next we'll reset the position and orientation of the old skin. While the skin is still selected, right click on the rotation button on the toolbar.
The "Rotate Transform Typein" dialog will apear. If any of the values are not 0.0 then reset them.
Do the same thing for position and scale (click on the move, scale buttons as the Transform Type-In is still visible).
For the following steps its essential that you do not alter the position, rotation or scale of the old skin. I suggest you to freeze the object
so you won't be able to accidently select and manipulate it (if you don't know how to do that look it up in the MAX User Reference).
|
| Step 4 |
|
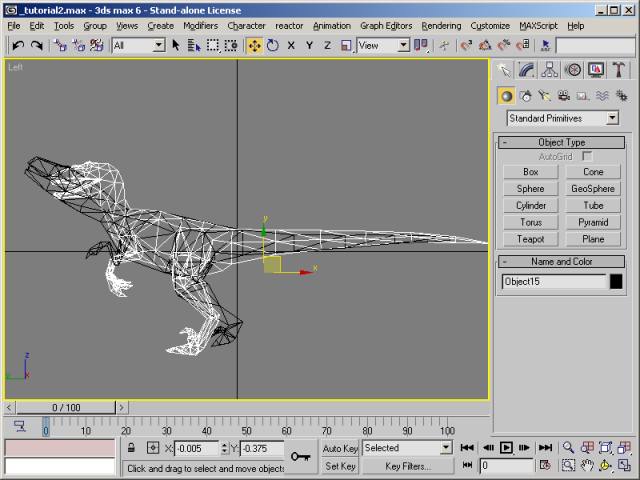
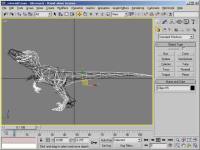
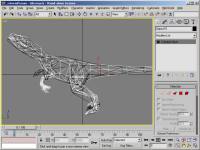
Scale down the new skin, move it, rotate it until it roughly lines up with the old skin. It very important that the area near the hips
matches the old skin as closely as possible, since this is the are where the root-bone is situated.
|
| Step 5 |
|
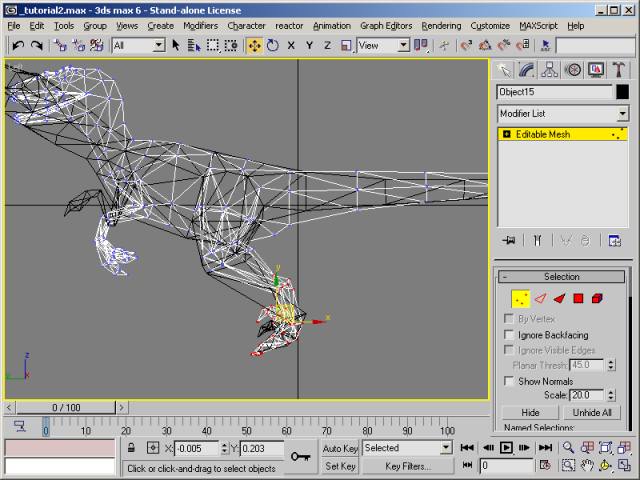
Now collapse the modifier stack (if any) or turn the object into an editable mesh.
Select parts of the dinosaur, and move them over the reference mesh.
|
| Step 6 |
|
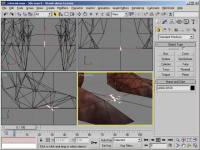
Keep moving vertices around until you are satisfied. Make sure that areas like as the hips, knees and ankles, lower jaw
match closely, these parts will 'warp' if they are not placed properly when the dinosaur moves around ingame.
For bipedal dinosaurs you won't have to wory about the way the arms are positioned since they are not animated anyway.
|
| Step 7 |

|
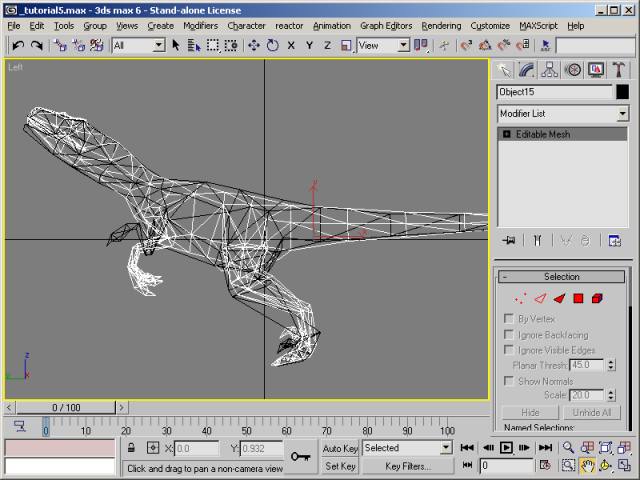
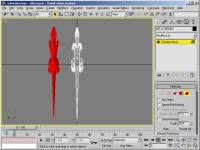
At this point we'll do a bit of a trick to to copy the position, pivot
offset and to reset the scale and rotation. Unfreeze the old skin,
select it and copy it (do not instance it). Hide this object, we may have to use this backup later.
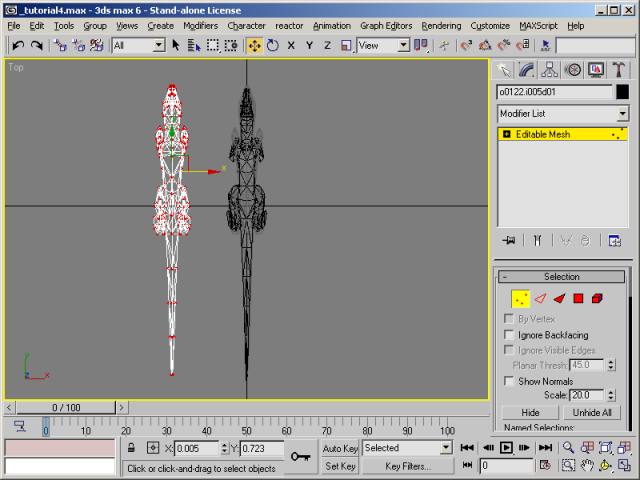
Select the old skin we just copied, go into Editable Mesh-mode and select all vertices (make sure Ignore Backfacing is unchecked),
then move the vertices so we can see the new skin.
|
| Step 8 |
|
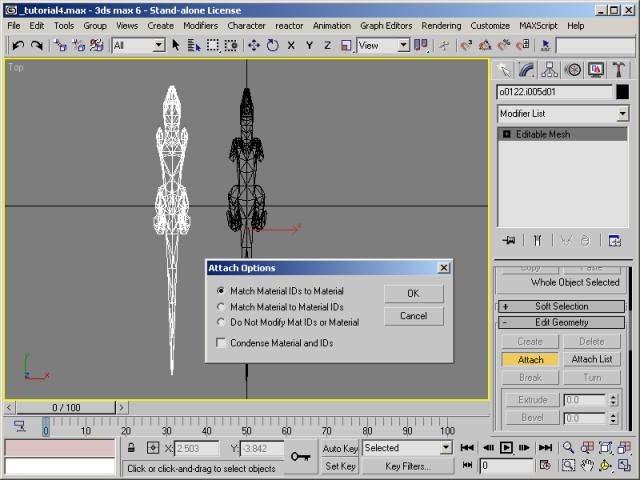
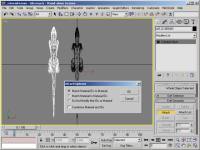
Now click on the "Attach" button on the rollout and click on the new skin. MAX will show an options dialog.
Select the option "Match Material IDs to Material", and make sure "Condense Material and IDs" is unchecked.
Click "OK".
|
| Step 9 |
|
We've now attached the new skin to the old skin. This way the new skin will inherit all of the properties of the old skin at once,
it'll save you a lot of manual tweaking.
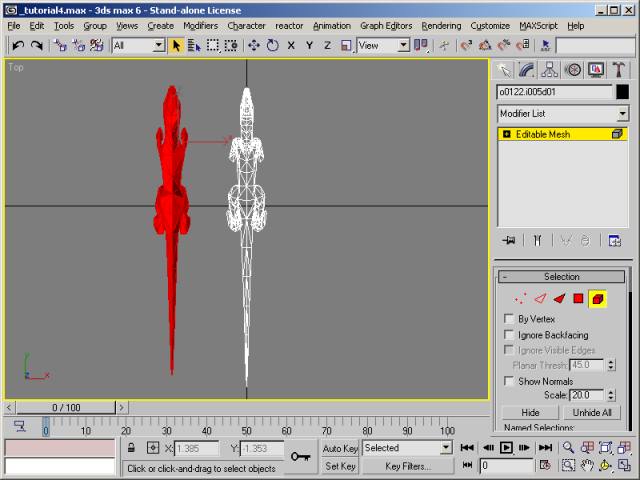
We no longer need the old skin geometry, select all faces (or vertices)
and delete them. If MAX asks you to delete isolated vertices click
"Yes". Make sure Ignore Backfacing is unchecked on the Editable Mesh-rollout, otherwise there vertices or faces faing away
from you won't be deleted.
|
| Step 10 |
|
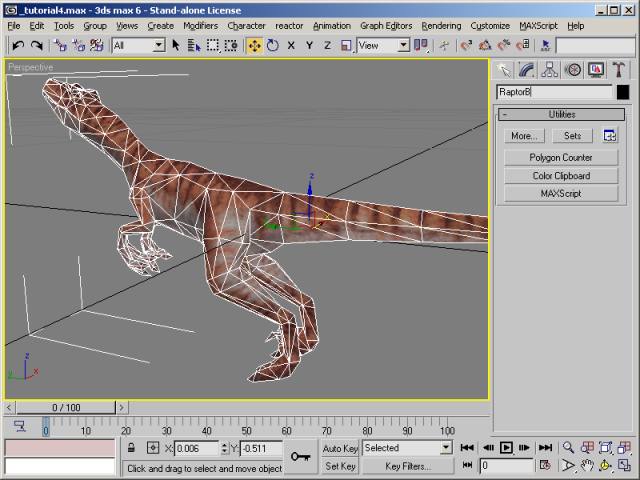
Don't forget to rename the skin, even though you can change it in TPDC
you may have to get back to MAX several times to tweak the model while
rigging, so rename it now and it'll save you some trouble later on. |